


Paneer, a versatile and protein-packed delight, takes center stage in many Indian and international cuisines. Creating your own paneer at home is not only easy but also allows you to enjoy the unparalleled freshness and quality. Here’s a step-by-step guide to making paneer from scratch in the comfort of your kitchen.
Ingredients:
- 1 liter of full-fat milk
- 2-3 tablespoons of lemon juice or vinegar
- Cheesecloth or muslin cloth
- Strainer or colander
- Heavy-bottomed pan
Step 1: Gather Your Ingredients
Assemble all the ingredients before starting the process. Using full-fat milk is crucial for a rich and creamy paneer texture.
Step 2: Heat the Milk
Pour the milk into a heavy-bottomed pan and place it on medium heat. Bring the milk to a gentle boil while stirring occasionally to prevent it from sticking to the bottom.
Step 3: Add Lemon Juice or Vinegar
Once the milk comes to a boil, reduce the heat to low and slowly add lemon juice or vinegar while stirring continuously. This helps in curdling the milk.
Step 4: Curdle the Milk
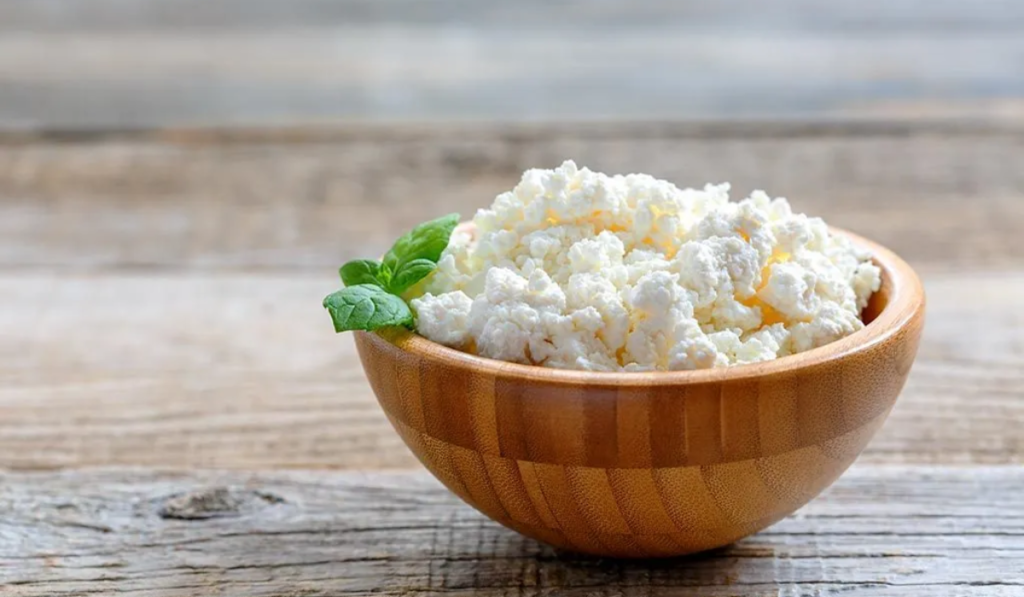
As you add the lemon juice or vinegar, you’ll notice the milk curdling. Keep stirring until the whey (greenish liquid) separates from the curdled milk solids (chenna).
Also Read: Unlocking the Delight of Paneer: The Art of Proper Consumption
Step 5: Strain the Curds
Place a cheesecloth or muslin cloth over a strainer or colander and put it over a bowl. Pour the curdled mixture onto the cloth to separate the whey from the it.
Step 6: Rinse the Paneer
Rinse the paneer under cold water to remove any traces of lemon juice or vinegar. This ensures that the paneer doesn’t carry an overly tangy flavor.
Step 7: Shape and Set
Gather the corners of the cloth and squeeze out excess water. Place a weight (like a heavy pot or a few cans) on top of the paneer bundle to shape it. Let it sit for 1-2 hours to set.
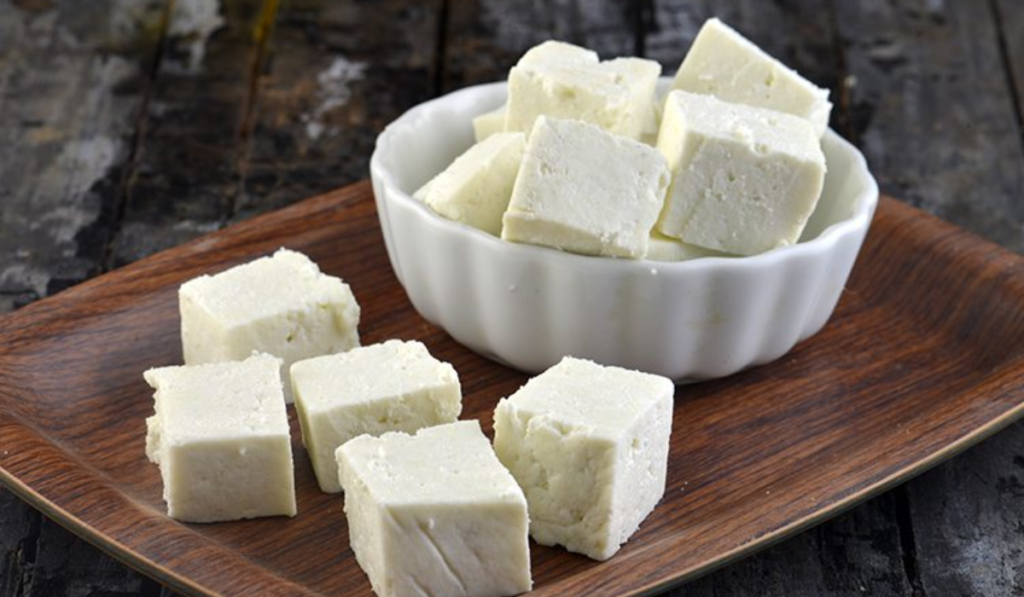
Step 8: Cut and Use
Once set, unwrap the paneer and cut it into desired shapes. Your homemade dairy product is now ready to be used in a variety of dishes.
Tips:
- Use the whey (the greenish liquid) in soups or curries as it is rich in nutrients.
- Adjust the quantity of lemon juice or vinegar based on how quickly the milk curdles.
- Experiment with adding herbs or spices to the milk for flavored paneer.
Making it at home is a rewarding and straightforward process that elevates your culinary experience. Enjoy the satisfaction of creating fresh paneer with no additives or preservatives, allowing you to savor its natural taste in your favorite dishes. With this step-by-step guide, you’ll master the art of homemade paneer and infuse your cooking with a touch of authenticity and freshness.
Also Read: Qatar Accepts India’s Appeal Against Death Penalty To 8 Navy Veterans


More Stories
AIIMS जोधपुर से पढ़ाई, UPSC में टॉप कर बने मिसाल अनुज अग्निहोत्री
होली: रंगों की भाषा और विविधता में छिपी एकता का संदेश
डस्टर 17 मार्च को लॉन्च, पहली बार 7 साल की वारंटी